DIY vs. Pro Outdoor LED Light Installation: Choose the Right Option
When it comes to illuminating your outdoor space, the options are limitless. Yet, one option stands out because of its energy efficiency and...
6 min read
Installing string lights on your pergola can completely transform your outdoor space into something magical. The process might seem tricky at first, but it’s easier than you think with some planning and the right tools. You’ll be able to create a cozy, inviting atmosphere perfect for everything from family dinners to late-night hangouts.
Instead of fumbling with tangled cords or uneven lights, this guide will walk you through each step to get it right the first time. You’ll learn to map out your design, securely hang the lights, and even use innovative features for ultimate convenience.
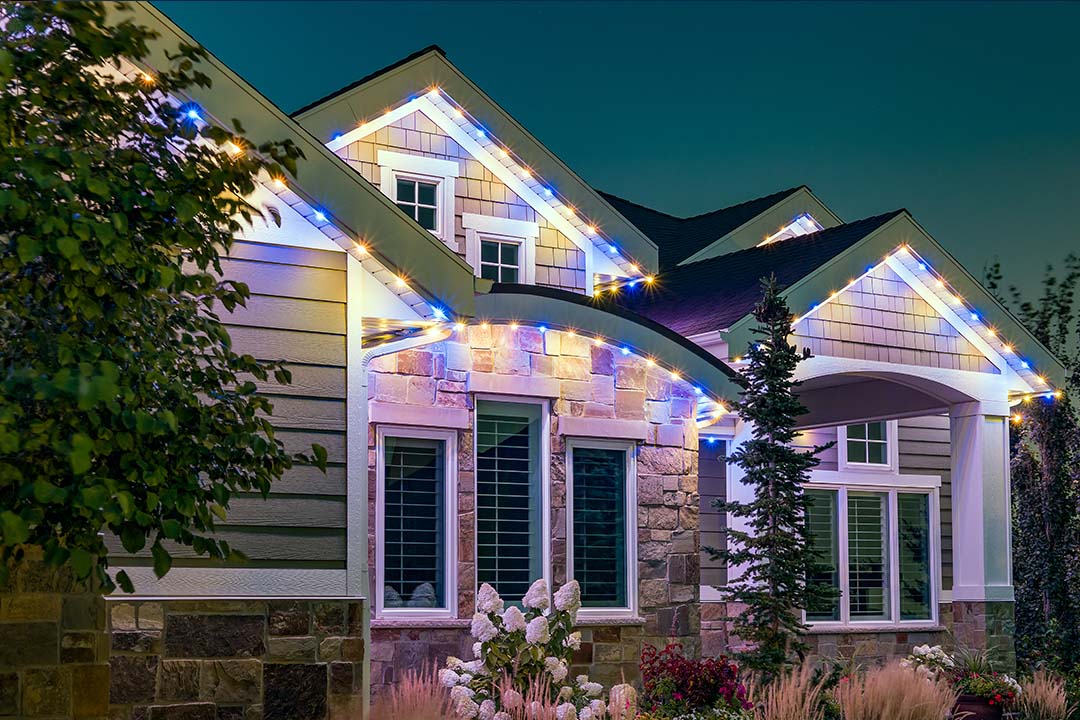
Trimlight Globe Lights make it simple to customize colors and brightness, so your pergola can match any mood or occasion. By investing in a Trimlight system, you can avoid the hassle of installing your lights. Our factory-trained technicians will handle all of the work for you.
However, if you want to install your own pergola string lights, check out the tips below.
Before you hang any lights, take a moment to think about the pattern that best fits your space. Whether you choose a zigzag, perimeter, or crisscross layout, the goal is to balance beauty with brightness. For a vibrant and customizable look, consider using Trimlight Globe Lights to set the perfect mood with adjustable color and brightness settings. With our professional installation, you can rest assured that your new globe lights look great and function properly.
Zigzag designs work well for wide pergolas and give the space a lively, festive feel. This layout spreads light evenly while adding movement and depth overhead. It’s ideal for parties or casual gatherings because it creates a playful and energetic atmosphere.
Running the lights along the outer edges creates a clean and modern look. This setup works best if you want to highlight the shape of your pergola or keep the center area open and uncluttered. It also helps direct attention outward, making your space feel larger.
Crisscross designs give full overhead coverage, making the space feel cozy and enclosed. This pattern creates an intimate setting, especially for evening dinners or quiet nights. It looks impressive when viewed from below and offers the most even light distribution.
Think about how different parts of your pergola will be used: dining, lounging, or walking through. Use brighter lighting where you need visibility and softer lighting where you want relaxation. Trimlight’s customizable features let you easily change zones, adjusting brightness and color depending on the occasion.
Start with a measuring tape and write down the length and width of your pergola. These numbers help you figure out how many feet of lights you need to cover your space. Knowing the exact size also makes it easier to plan your pattern without running short on lights.
Mark the places where you want to hang each section of the string lights. Use chalk, tape, or small stickers to create guide points along beams or posts. Spacing these points evenly helps keep your layout neat and stops the lights from sagging in some spots.
Take a step back and look at the marks you made. This will help you spot areas that look off or crowded before hanging the lights. You can adjust your plan now instead of fixing problems later, which will save time and keep your setup smooth.
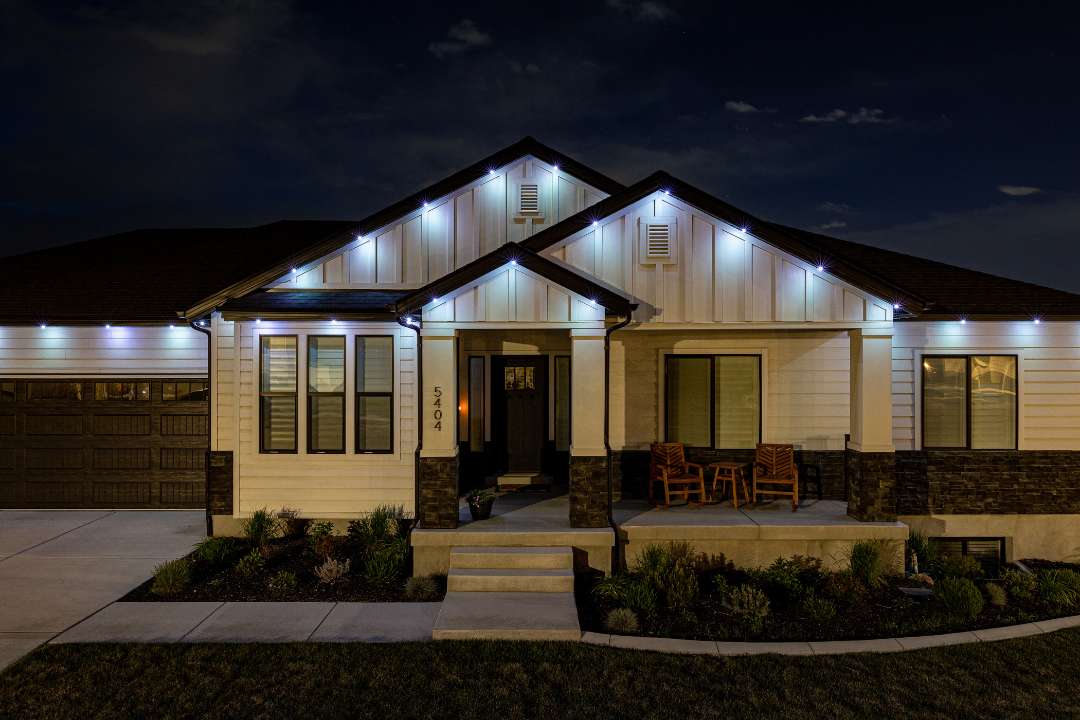
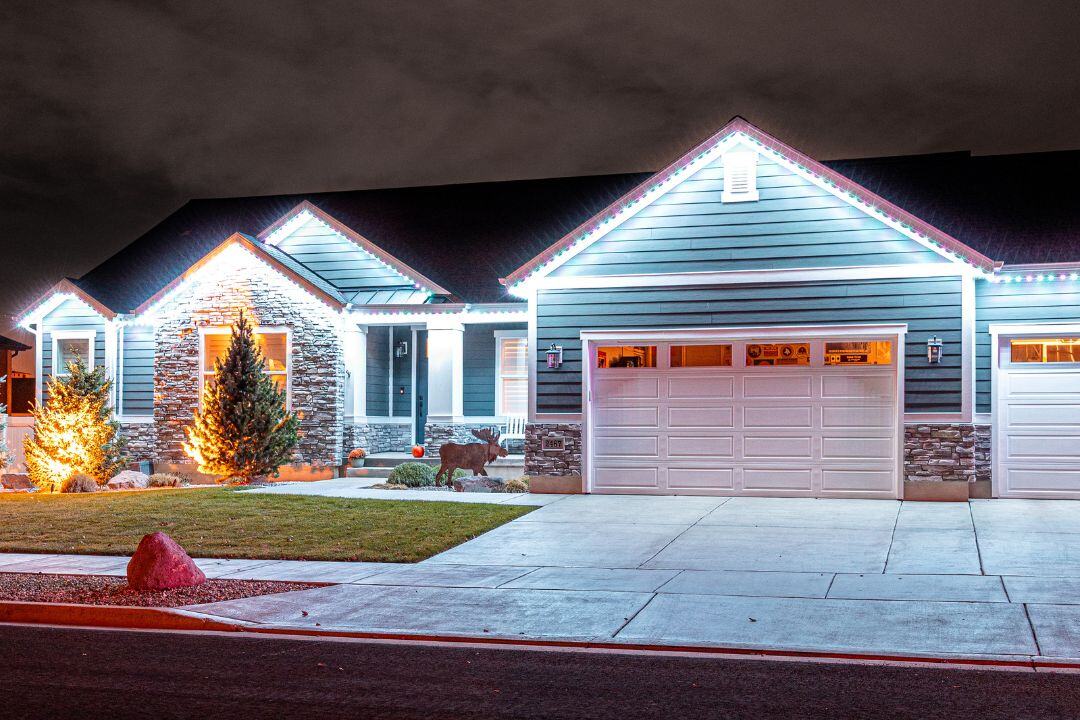
Pick string lights for outdoor use, especially ones that can handle different kinds of weather. Trimlight Globe Lights are a smart choice because they work well in rain, snow, and heat without wearing out. This means you won’t have to worry about replacing them often or taking them down every season.
Our lights use LED technology, which helps save energy and lowers your electricity bill. LED bulbs also stay cool to the touch and last a lot longer than traditional ones. That makes them a safer and more cost-friendly option for your outdoor space.
Choose lights that can withstand the elements while still giving off a bright and welcoming glow. You want something that will work just as well on hot summer nights as during cooler months. Your pergola will stay beautiful and functional all year with our professionally-installed lights.
Getting your tools ready before you start makes the whole process easier. You won’t have to stop in the middle of the job to look for something or make extra trips. A ladder, power drill, zip ties, cup hooks, and other hardware should all be in one place before you begin.
Here’s what each tool will help you do during installation:
Having everything ready means you can focus on hanging the lights neatly and safely without delays.
Look around your outdoor space and find the closest outlet to your pergola. Make sure it works by plugging in a small device like a phone charger or lamp. This step is important to know that your lights will turn on without issues.
If you're using professionally-installed Trimlight Globe Lights, take a few minutes to explore the Trimlight Edge app. Explore the different features, such as changing colors or adjusting brightness. This will help you feel at ease with the settings once the lights are installed.
If needed, check that your extension cords are rated for outdoor use and can handle the power load. It’s also helpful to consider where to place the power supply to keep it out of the way and safe from the weather. Taking these steps now helps you avoid problems after installing the lights.
Plug in the string lights and ensure every bulb lights up the way it should. Check each section closely to spot any dim or dead bulbs that need replacing. It’s much easier to fix minor problems now than after everything is set up.
Taking a few extra minutes to test your lights helps save time later. You won’t have to climb up the ladder or redo your layout to fix one issue. This simple step gives you peace of mind before installation begins.
Grab a piece of chalk or a pencil and lightly mark the spots where each hook or clip will go. Keeping the spacing even helps your lights hang straight and look well-planned. Take your time during this step so the finished result looks smooth and balanced.
Use the beams or edges of your pergola as guides when placing your marks. Lining up the anchor points with these parts makes the lights feel like they belong there. This extra attention gives your setup a clean and professional look.

Start by drilling small pilot holes at each marked spot. This will make it easier to screw in the hooks and help protect the wood from cracking. Make sure the holes are just deep enough to hold the hooks firmly.
Once the holes are ready, screw in cup hooks or eye hooks by hand or with a tool until they feel tight. These hooks will support the weight of the string lights and keep them steady in wind or rain. A strong and secure hook setup is the key to a long-lasting display.
Begin near the outlet and ensure the plug is close enough to reach it easily. Hook the first section of lights onto your installed hooks, following the pattern you planned. Leave a little slack so the lights hang with a smooth, natural curve.
Move slowly and check each section to keep the drape even. If anything looks too tight or too loose, adjust it before continuing. Taking your time now helps the whole setup look neat and well-spaced.
Grab a few zip ties and fasten the lights to the beams or posts of your pergola. Ensure each tie securely holds the lights in place without pulling too tightly on the cord. This step helps keep the layout clean and the lights evenly spaced.
Check that the lights don’t sag or hang unevenly as you work your way across. Zip ties also help keep the lights from shifting around during wind or storms. Once everything feels secure, trim the extra ends off the ties for a tidy finish.
Look for any extra cord that hangs down or sticks out after you’ve finished hanging the lights. Use zip ties or clips to gather and secure the extra length along the beams or posts. This keeps the cords neat and out of the way.
Make sure nothing is left dangling where someone could trip or get tangled. Neatly managed cords help your pergola look more polished and put together. A clean setup also makes it easier to enjoy the space without distractions.
Take a few steps back and look at your pergola from different sides. Check how the lights hang and ensure the spacing looks even across the setup. Look for spots where the lights dip too low or pull too tight.
If something feels off, move a hook or adjust a zip tie. Small changes can make a big difference in how clean and balanced everything looks. The goal is a setup that feels both cozy and well put together.
With Trimlight Globe Lights, your pergola can become the ultimate outdoor retreat, perfect for any occasion. Trimlight’s factory-trained technicians will have your new lights installed and functional in no time.
When it comes to illuminating your outdoor space, the options are limitless. Yet, one option stands out because of its energy efficiency and...
In the world of outdoor design, lighting is the enchanting wand that transforms ordinary spaces into magical realms. Imagine a garden bathed in a...
The holiday season brings joy, cheer, and the tradition of stringing lights to illuminate our homes. But with this festive tradition comes potential...